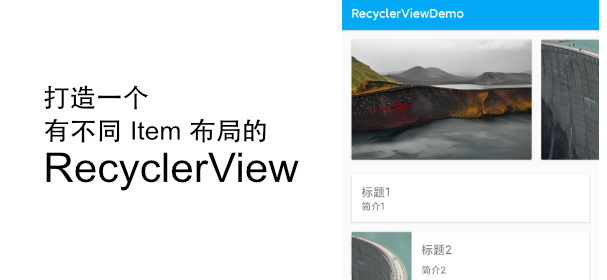
RecyclerView 作为 ListView 的升级版,其强大的性能和极高的灵活性使得可以在项目中实现更多的列表效果,比如瀑布流、自定义 Header 和 Footer 、不同内容的 Item 布局等,今天就利用 RecyclerView 来实现一个根据内容变化 Item 布局的列表布局,并添加一个横向滑动的列表作为 Header 。用到的主要是 RecyclerView.Adapter 中关于 View Type 的一些设定。
前期准备
首先我们先新建一个类 ListItem 作为存放列表内容的对象。
ListItem.class
1
2
3
4
5
6
7
8
9
10
11
12
13
| public class ListItem {
int type; // Item 的类型
String title; // Item 的标题
String brief; // Item 的简介
String image; // Item 的图片
public ListItem(int type, String title, String brief, String image) {
this.type = type;
this.title = title;
this.brief = brief;
this.image = image;
}
}
|
列表样式设计
这里我设计了 5 个不同的样式:列表的头部、仅有文字的列表项目、带有小图片的列表项目、带有大图片的列表项目和列表的尾部。
列表的头部的是常见的左右滚动形式,其他几个部分则是简单的 Card ,最后列表的尾部为一行文字。
为了不贴出太多代码,影响阅读体验,这里就放出头部的和仅有文字的列表项目的 XML 文件,其他的文件会在项目的 GitHub Repo 中放出。
item_list_header.xml
这里使用一个 HorizontalScrollView 包裹一个 LinearLayout 实现横向滚动效果,实际使用时可以用一个横向的 RecyclerView 替代。
1
2
3
4
5
6
7
8
9
10
11
12
13
14
15
16
17
18
19
20
21
22
23
24
25
26
27
28
29
30
31
32
| <?xml version="1.0" encoding="utf-8"?>
<HorizontalScrollView
xmlns:android="http://schemas.android.com/apk/res/android"
android:layout_width="match_parent"
android:layout_height="wrap_content"
android:scrollbars="none">
<LinearLayout
android:layout_width="wrap_content"
android:layout_height="wrap_content"
android:orientation="horizontal"
android:scrollbars="none">
<androidx.cardview.widget.CardView
android:layout_width="wrap_content"
android:layout_height="200dp"
android:layout_marginVertical="16dp"
android:layout_marginStart="16dp">
<ImageView
android:id="@+id/header_image_1"
android:layout_width="300dp"
android:layout_height="200dp"
android:contentDescription="@string/image_description"/>
</androidx.cardview.widget.CardView>
... ...
</LinearLayout>
</HorizontalScrollView>
|
item_text_only.xml
简单的一个 CardView 。
1
2
3
4
5
6
7
8
9
10
11
12
13
14
15
16
17
18
19
20
21
22
23
24
25
26
27
28
29
30
31
32
33
34
35
| <?xml version="1.0" encoding="utf-8"?>
<androidx.cardview.widget.CardView
xmlns:android="http://schemas.android.com/apk/res/android"
xmlns:app="http://schemas.android.com/apk/res-auto"
android:layout_width="match_parent"
android:layout_height="wrap_content"
android:layout_margin="16dp">
<androidx.constraintlayout.widget.ConstraintLayout
android:layout_width="match_parent"
android:layout_height="wrap_content">
<TextView
android:id="@+id/item_title"
android:layout_width="wrap_content"
android:layout_height="wrap_content"
android:layout_margin="16dp"
android:textSize="20sp"
app:layout_constraintStart_toStartOf="parent"
app:layout_constraintTop_toTopOf="parent" />
<TextView
android:id="@+id/item_brief"
android:layout_width="wrap_content"
android:layout_height="wrap_content"
android:layout_marginStart="16dp"
android:layout_marginBottom="16dp"
android:textSize="16sp"
app:layout_constraintBottom_toBottomOf="parent"
app:layout_constraintStart_toStartOf="parent"
app:layout_constraintTop_toBottomOf="@id/item_title" />
</androidx.constraintlayout.widget.ConstraintLayout>
</androidx.cardview.widget.CardView>
|
创建 Adapter
ListAdapter.java
这里大体跟一般使用 RecyclerView.Adapter 一样,但是重写了 getItemViewType() 方法,根据 position 返回不同的 Type ,getItemCount() 的返回值也从一般的列表 Size 变成了 Size + 2 ,因为多了头部和尾部两个项目。其他的一些改动请看代码,部分重复或无关代码已省略。
1
2
3
4
5
6
7
8
9
10
11
12
13
14
15
16
17
18
19
20
21
22
23
24
25
26
27
28
29
30
31
32
33
34
35
36
37
38
39
40
41
42
43
44
45
46
47
48
49
50
51
52
53
54
55
56
57
58
59
60
61
62
63
64
65
66
67
68
69
70
71
72
73
74
75
76
77
78
79
80
81
82
83
84
85
86
87
88
89
90
91
92
93
94
95
96
97
98
| public class ListAdapter extends RecyclerView.Adapter<ListAdapter.ItemViewHolder> {
... ...
public ListAdapter(Context context, List<ListItem> mData) {
this.mContext = context;
this.mData = mData;
}
@Override
public int getItemViewType(int position) {
// 根据位置和内容判断布局类型
if (position == 0) {
return TYPE_HEADER;
} else if (position == getItemCount() - 1) {
return TYPE_FOOTER;
} else {
return mData.get(position - 1).type;
}
}
@NonNull
@Override
public ItemViewHolder onCreateViewHolder(@NonNull ViewGroup parent, int viewType) {
// 应用不同布局
switch (viewType) {
case TYPE_HEADER:
return new ItemViewHolder(LayoutInflater.from(parent.getContext()).inflate(
R.layout.item_list_header, parent, false), viewType);
case TYPE_NO_IMAGE:
return new ItemViewHolder(LayoutInflater.from(parent.getContext()).inflate(
R.layout.item_text_only, parent, false), viewType);
case TYPE_SMALL_IMAGE:
return new ItemViewHolder(LayoutInflater.from(parent.getContext()).inflate(
R.layout.item_text_with_small_image, parent, false), viewType);
case TYPE_BIG_IMAGE:
return new ItemViewHolder(LayoutInflater.from(parent.getContext()).inflate(
R.layout.item_text_with_big_image, parent, false), viewType);
default:
return new ItemViewHolder(LayoutInflater.from(parent.getContext()).inflate(
R.layout.item_list_footer, parent, false), viewType);
}
}
@Override
public void onBindViewHolder(@NonNull ItemViewHolder holder, int position) {
// 根据类型对内容进行设置
if (holder.type == TYPE_HEADER) {
String imgURL1 = "file:///android_asset/1.jpg";
Glide.with(mContext)
.load(imgURL1)
.centerCrop()
.into(holder.headerImage1);
... ...
} else if (holder.type != TYPE_FOOTER) {
holder.textTitle.setText(mData.get(position - 1).title);
holder.textBrief.setText(mData.get(position - 1).brief);
if (holder.type == 2 || holder.type == 3) {
// 简单的图片加载
String imgURL = "file:///android_asset/" + mData.get(position - 1).image + ".jpg";
Glide.with(mContext)
.load(imgURL)
.centerCrop()
.into(holder.imageView);
}
}
}
@Override
public int getItemCount() {
// 计算头部和尾部项目
return mData.size() + 2;
}
static class ItemViewHolder extends RecyclerView.ViewHolder {
int type;
ImageView headerImage1, headerImage2, headerImage3;
TextView textTitle, textBrief;
ImageView imageView;
public ItemViewHolder(@NonNull View itemView, int viewType) {
super(itemView);
this.type = viewType;
textTitle = itemView.findViewById(R.id.item_title);
textBrief = itemView.findViewById(R.id.item_brief);
// 根据不同布局设置界面元素
if (viewType == 0) {
headerImage1 = itemView.findViewById(R.id.header_image_1);
headerImage2 = itemView.findViewById(R.id.header_image_2);
headerImage3 = itemView.findViewById(R.id.header_image_3);
}
if (viewType == 2 || viewType == 3) {
imageView = itemView.findViewById(R.id.item_image);
}
}
}
}
|
实装 RecyclerView
这部分就是给 RecyclerView 设置刚刚完成的 Adapter ,然后填上对应的内容,至此,整个列表就完成了。
1
2
3
4
5
6
7
8
9
10
11
12
13
14
15
16
17
18
19
20
21
| public class MainActivity extends AppCompatActivity {
@Override
protected void onCreate(Bundle savedInstanceState) {
super.onCreate(savedInstanceState);
setContentView(R.layout.activity_main);
Toolbar toolbar = findViewById(R.id.toolbar);
setSupportActionBar(toolbar);
// 设置列表内容
List<ListItem> listItems = new ArrayList<>();
listItems.add(new ListItem(1, "标题1", "简介1", "1"));
listItems.add(new ListItem(2, "标题2", "简介2", "2"));
listItems.add(new ListItem(3, "标题3", "简介3", "3"));
// 设置 RecyclerView
RecyclerView recyclerView = findViewById(R.id.recycler_view);
recyclerView.setLayoutManager(new LinearLayoutManager(this));
recyclerView.setAdapter(new ListAdapter(this, listItems));
}
}
|
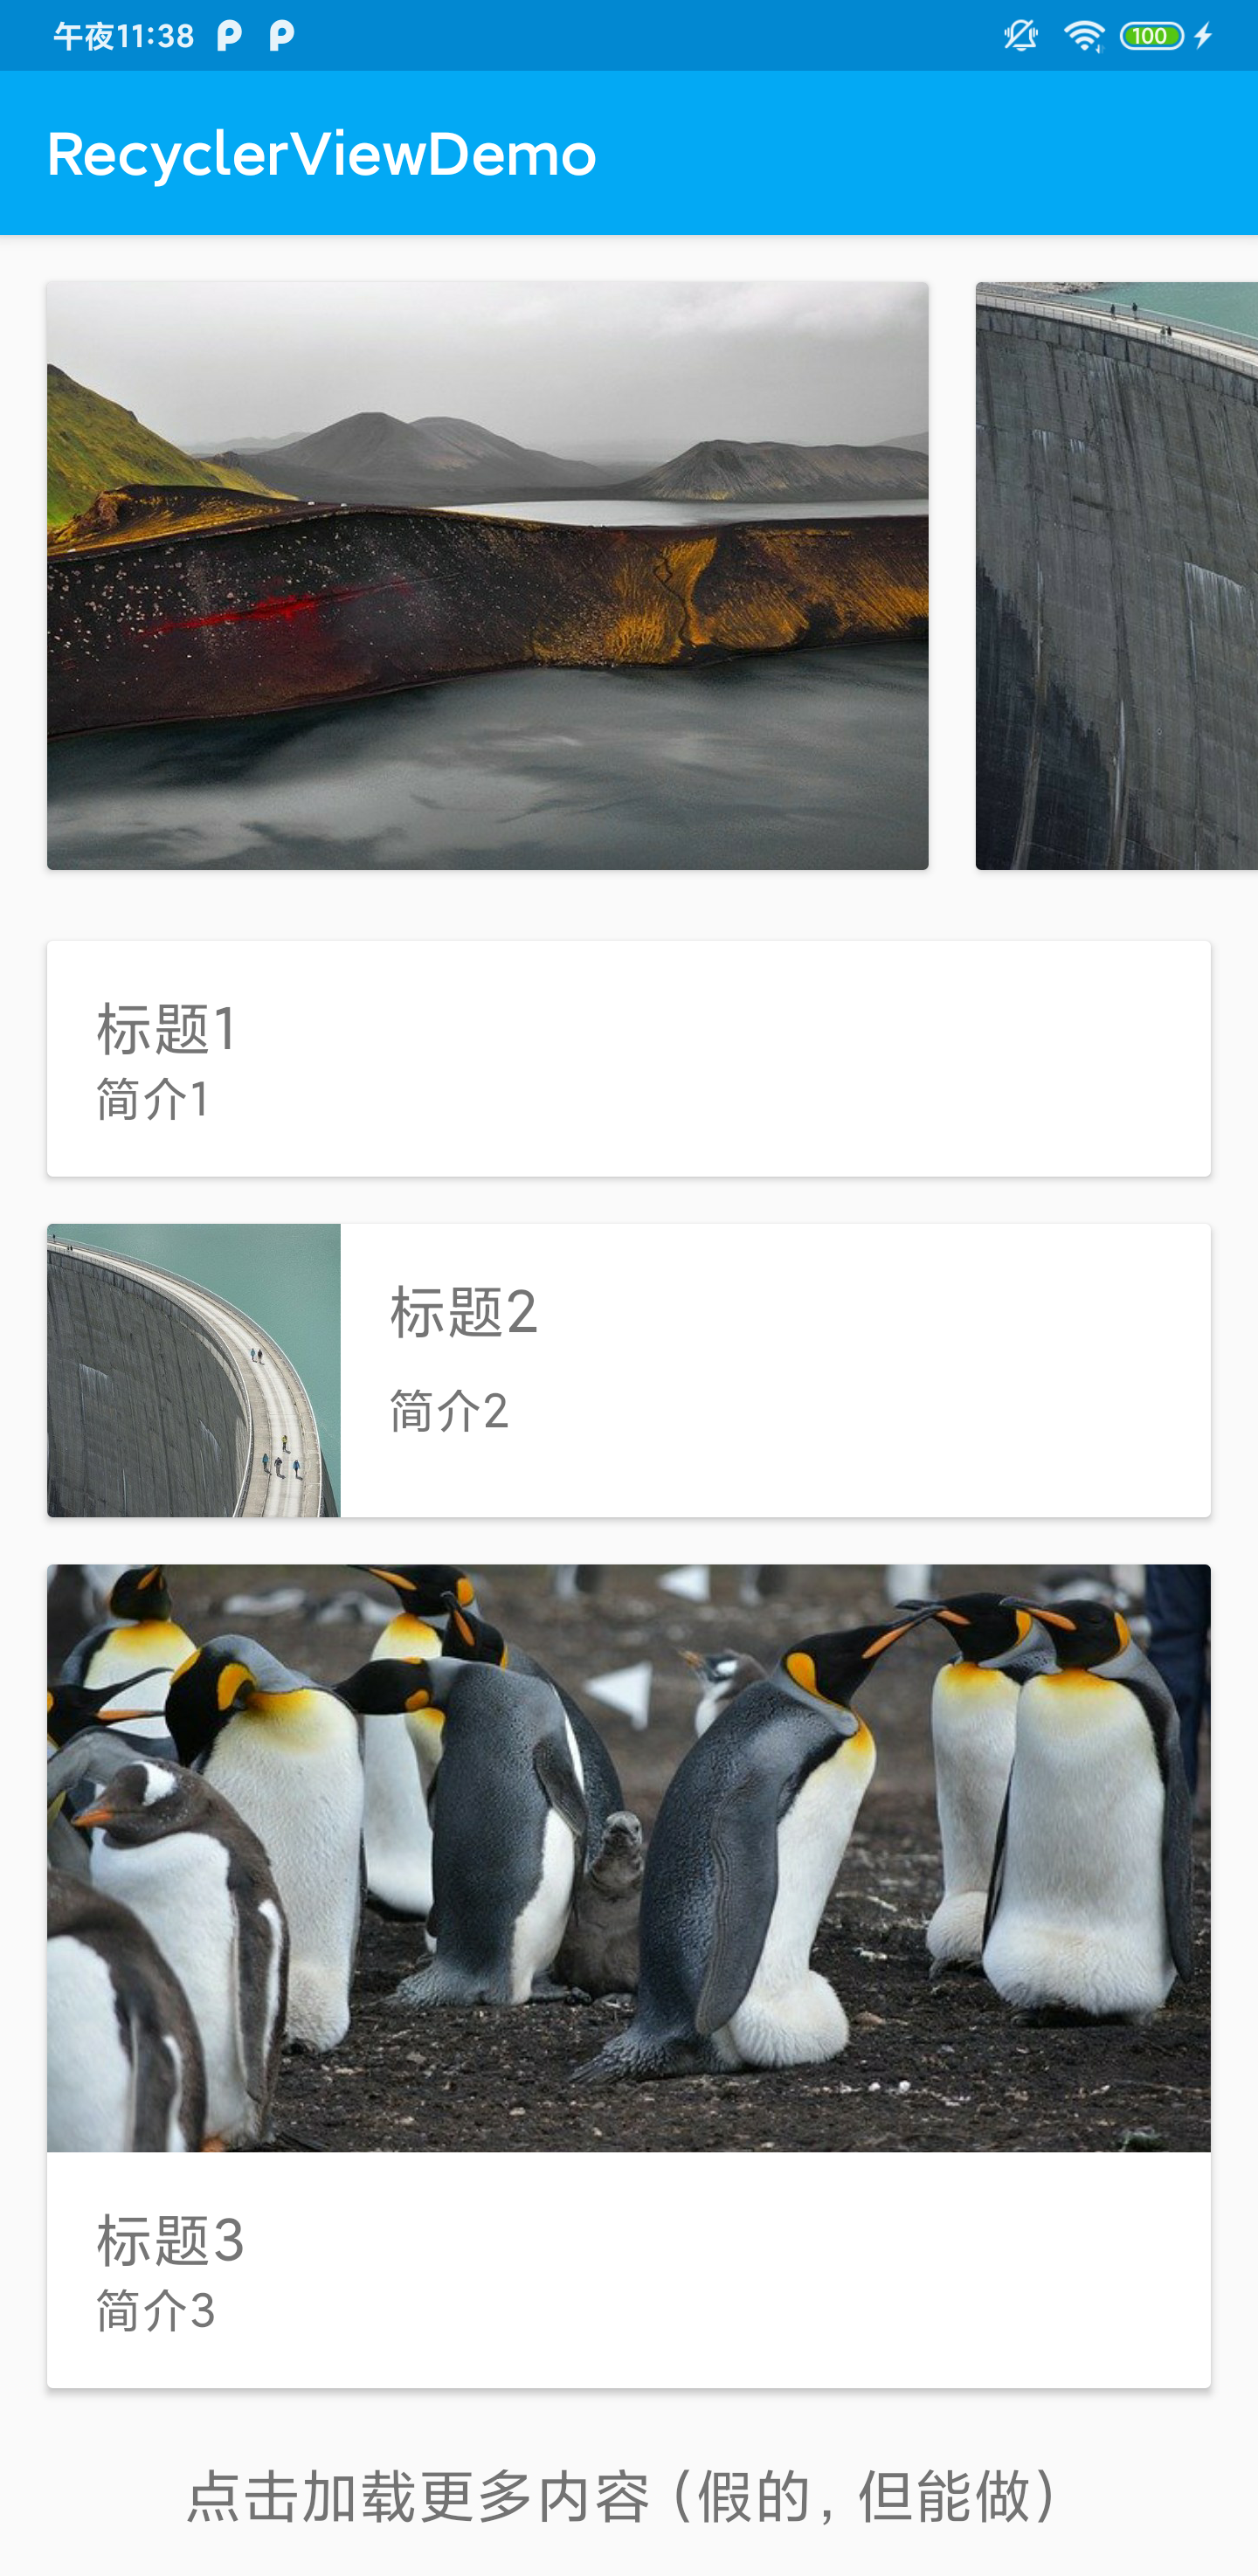
效果展示
就是上面那个图片啦,我是做出来才截图的。
源码以及 Demo
整个过程的源码已经上传到 GitHub ,项目地址:点这里 ,如有错误或瑕疵,欢迎提出。
如果想试试整个 App 的效果可以到这里下载体验。